Turns out that I have wanted for a long time to do some miniprojects with Arduino and these days, reading about how to do some things with the camera, I found a simple and useful DIY. Initially I was interested in developing something like a remote trigger for the camera, but after some technical problems with the Bluetooth module, it turned into developing an automatomatic trigger for the camera. It could be interesting for instance for doing timelapses (the next one has been done with this little device).

The change is not too relevant since the interesting part, to activate the camera with an arduino, keeps untouchable. Once this has been achieved, the way in which the arduino controls the operation moves into the background. Before continuing with the “boring” part, here you have a video where you can see the camera and the Arduino working together.
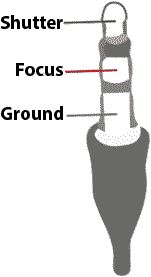
The first difficulty comes out early… How the heck can we control the camera with a microcontroller? Well, turns out that Canon EOS series (I don’t know too much about other brands/series) provides a really simple method for doing it through the 2.5 mm minijack connection as you can see in the picture. It means that only by connectig shutter-GND or Focus-GND terminals the camera will focus or take a photo.

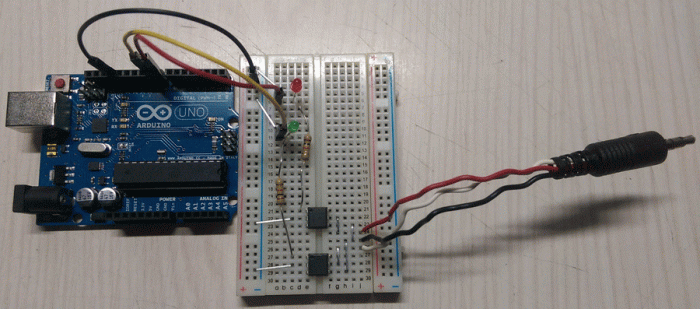
The most direct options for doing it with an Arduino is by using transistors or, as I did here, optocouplers (4N35 more specifically) commanded to a couple of digital pins . The idea is to isolate the two parts of the circuit and to be sure that any undesirable current reaches the camera. The basic scheme used is the next.

Here a picture of the real circuit using a protoboard:

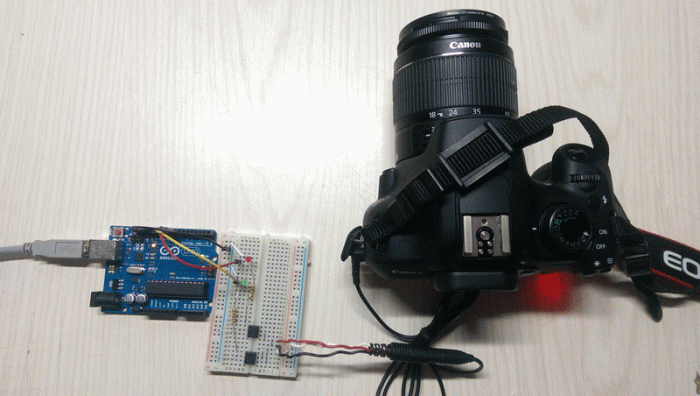
And another one with the camera connected.

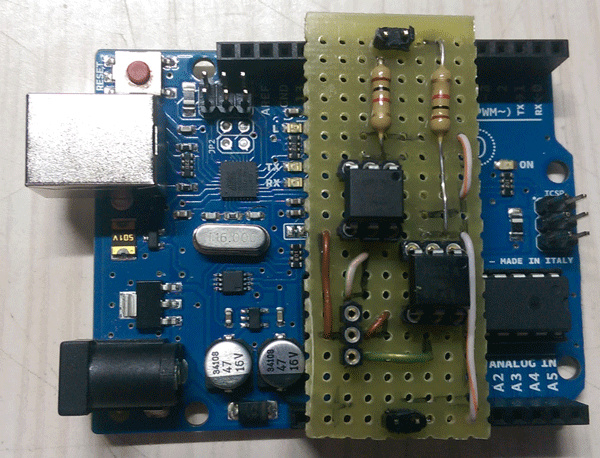
After being sure that everything worked properly, I did a more compact board.
The code written for the Arduino is extremely simple and it is the next:
void setup() {
   pinMode(8, OUTPUT);
   pinMode(9, OUTPUT);
   digitalWrite(8, LOW);
   digitalWrite(9, LOW);
}

void loop() {
   digitalWrite(8, HIGH); // Focus
   delay(1500); // wait 1.5 second
   digitalWrite(9, HIGH); // Say cheese!
   delay(1000); // wait 1 second
   digitalWrite(8, LOW);
   digitalWrite(9, LOW);
   delay(2000);
}
And that is! Today, I don’t have much more to tell you. This is a very easy and rewarding DIY project which I encourage you to do. For any question, comment or advise, here you have the comment box.
See you soon!.


